
Accounts Payable Support Document
Open as: PDF or Word Document
R. Reports Menu: A. Vendor List
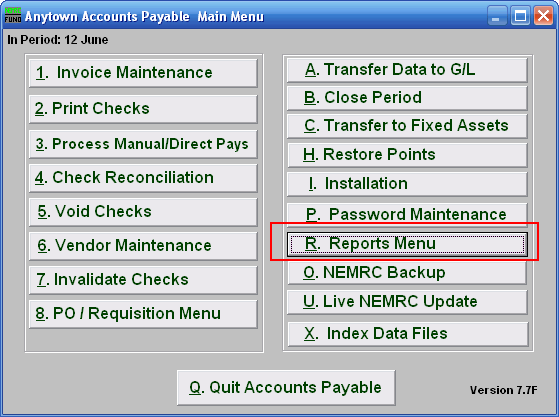
Click on "R. Reports Menu" from the Main Menu and the following window will appear:
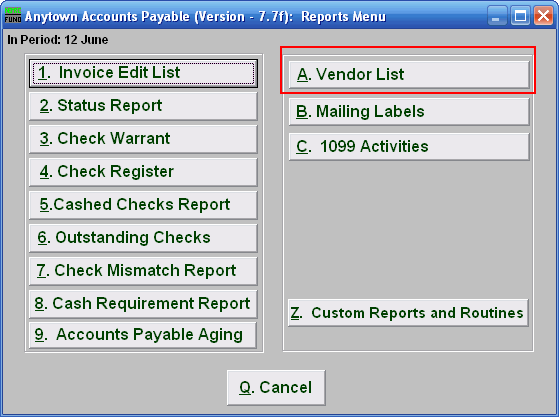
Click on "A.Vendor List" and the following window will appear:
Vendor List
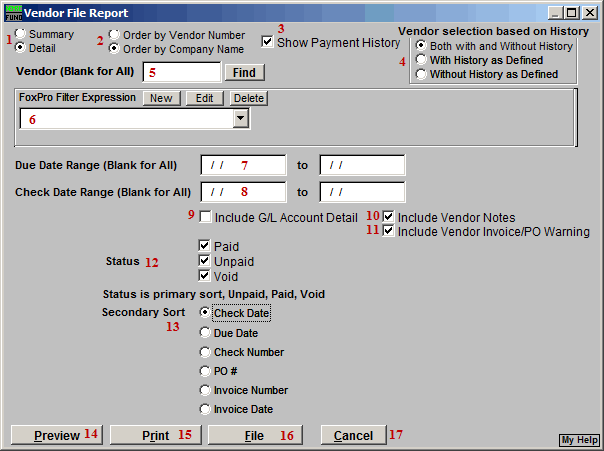
- Summary OR Detail: Click to choose if this report should be a Summary or a Detailed report. The summary includes the Vendor number, Company Name, Telephone and Fax numbers. The detail shows all items in Vendor Maintenance. Selecting Detail will cause items 10 and 11 to appear.
- Vendor Number OR Company Name: Click to choose which order you want this report to print in.
- Show Payment History: Click to check and have this report show payment history. Items 4, 7, 8, 9, 12, and 13 will become available.
- Vendor Selection Based on History: Select whether this report will show only Vendors with Payment History, without Payment History, or both with and without Payment History.
- Vendor (Blank for All): Choose which Vendor this report will be for. Leave this field blank to have this report be for All Vendors.
- FoxPro Filter Expression: A conditional reporting expression developed with NEMRC support. This evaluates account information to determine if the account should be included. Contact NEMRC support to learn more about this option.
- Due Date Range (Blank for All): Enter a starting and ending due date for this report to include.
- Check Date Range (Blank for All): Enter the starting and ending date of checks for this report to include.
- Include G/L Account Detail: Check this box to show the reference account detail on invoices on the report.
- Include Vendor Notes: This option is available if you chose "Detailed" in item 1. Checking this box will include any notes entered for this vendor in "1. Vendor Maintenance" off the Main Menu.
- Include Vendor Invoice/PO Warning: This option is available if you chose "Detailed" in item 1. Checking this box will include any Warnings for this Vendor.
- Status: Check to include Paid, Unpaid, and Void Payments. This is considered the Primary sort.
- Secondary Sort: Click to choose how this report should sort after the Primary sort.
- Preview: Click this button to preview. Refer to GENERAL PREVIEW for more information.
- Print: Click this button to print. Refer to GENERAL PRINTING for more information.
- File: Click this button to save on this computer. Refer to GENERAL FILE for more information.
- Cancel: Click "Cancel" to cancel and return to the previous screen.
