
General Ledger Support Document
Open as: PDF or Word Document
R. Reports Menu: C. Budget Worksheet
Table of Contents
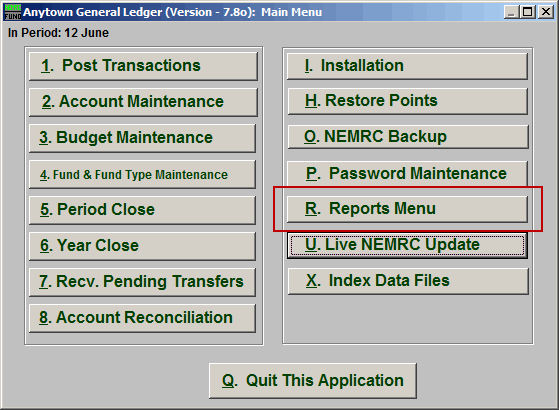
Click on "R. Reports Menu" from the Main Menu and the following window will appear:
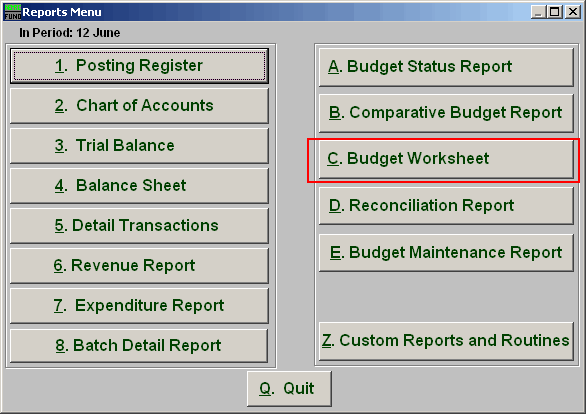
Click on "C. Budget Worksheet" from the Reports Menu and the following window will appear
Budget Worksheet
The "General" tab

- Report Groups : Select whether you want the report to show Revenues, Expenditures or Both. The option of both is dependant on the design of your chart of accounts.
- Skip Header Accounts : Header accounts are defined by incomplete account numbers that the system determines you want all like accounts match what has been defined to sub-total upon. Selecting "Yes" removes the sub-totals.
- Suprress detail to header accounts : Selecting "Yes" will cause the system to report on header accounts defined and all accounts without header accounts defined.
- Suppress accounts with zero balance : You can choose to remove from reporting an account when it has a value of zero in both last year and this year for budget, actual and encumbrance.
- Suppress account numbers : You can choose to remove the General Ledger account number from reporting so that only the account description is shown on the report.
- Include Budget Notes : Choose "Yes" to have this report include Budget Notes that can be entered during Budget Maintenance.
- Include Account Notes : Choose "Yes" to have this report include Account Notes that can be entered in Account Maintenance.
- Suppress non-postable accounts w/zero balance : You can have the system remove from reporting inactive accounts that have zero like in item 4. This option stops the inactive accounts from reporting. Item 4 would stop all zero balance accounts from reporting.
- Page Break After : Click to choose when a new page is started. The option for page breaks depends on the design for your chart of accounts.
- Preview : Click this button to preview. Refer to GENERAL PREVIEW for more information.
- Print : Click this button to print. Refer to GENERAL PRINTING for more information.
- File : Click this button to save on this computer. Refer to GENERAL FILE for more information.
- Cancel : Click "Cancel" to cancel and return to the previous screen.
The "Accounts" tab
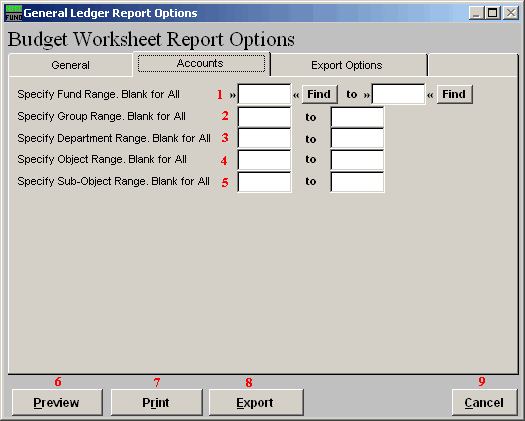
- Specify Fund Range : This option appears for all charts of accounts. Type in a beginning and ending fund number range to further restrict the reporting if desired. Items 2 through 5 will vary according to the design and descriptions for your chart of accounts definitions.
- Specify Group Range : Enter a beginning and ending value range to further restrict the reporting if desired.
- Specify Department Range : Enter a beginning and ending value range to further restrict the reporting if desired.
- Specify Object Range : Enter a beginning and ending value range to further restrict the reporting if desired.
- Specify Sub-Object Range : Enter a beginning and ending value range to further restrict the reporting if desired.
- Preview : Click this button to preview. Refer to GENERAL PREVIEW for more information.
- Print : Click this button to print. Refer to GENERAL PRINTING for more information.
- File : Click this button to save on this computer. Refer to GENERAL FILE for more information.
- Cancel : Click "Cancel" to cancel and return to the previous screen.
The "Export Options" tab

- Path : Type in the location of the folder you wish to save this report in when you export. You may click "Browse" to locate the folder.
- File Name : Type in the name that this report will be saved as.
- Export in Excel Format OR in Text Format : Click to choose whether this report will be exported in an Excel Format or in a Text Format.
- Preview : Click this button to preview. Refer to GENERAL PREVIEW for more information.
- Print : Click this button to print. Refer to GENERAL PRINTING for more information.
- File : Click this button to save on this computer. Refer to GENERAL FILE for more information.
- Cancel : Click "Cancel" to cancel and return to the previous screen.
