Grand List Support Document
Open as: PDF or Word Document
R. Reports Menu: 7. Grievance Processes
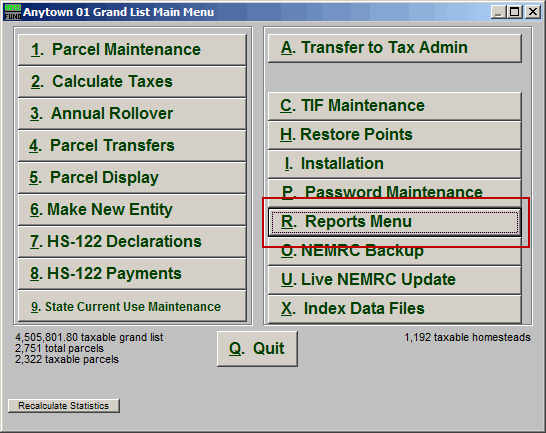
Click on "R. Reports Menu" from the Main Menu and the following window will appear:
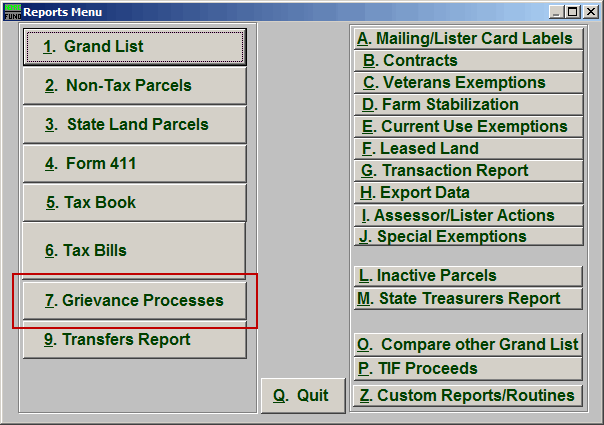
Click on "7. Grievance Processes" from the Reports Menu and the following window will appear:
Grievance Processes
The "General" tab
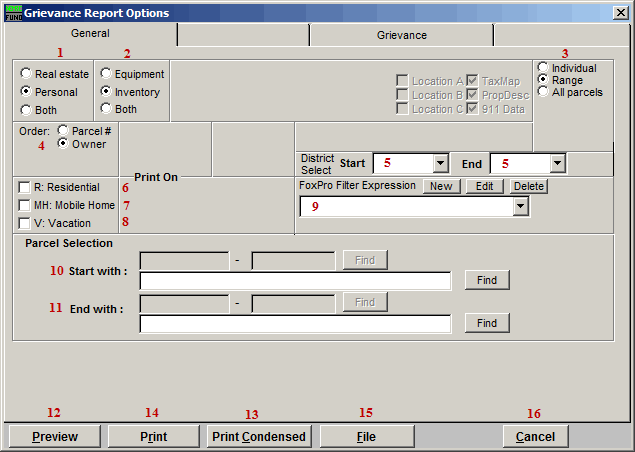
- Real Estate OR Personal OR Both: Select whether this report will be for Real Estate, Personal, or Both.
- Equipment OR Inventory OR Both: Select whether this report will be for Equipment, Inventory, or Both.
- Individual OR Range OR All Parcels: Select whether this report will be for an Individual Parcel, Range of Parcels, or All Parcels.
- Order: Parcel # OR Owner: Select which order this report will print in.
- District Select: Select the District range to include in this report.
- R: Residential: Check this box to restrict the report to all R1 and R2 type listings.
- MH: Mobile Home: Check this box to restrict the report to all MHU and MHL type listings.
- V: Vacation: Check this box to restrict the report to all V1 and V2 type listings
- FoxPro Filter Expression: A conditional reporting expression developed with NEMRC support. This evaluates Parcel information to determine if the Parcel should be included. Contact NEMRC support to learn more about this option.
- Start with: This will appear if you chose "Individual" or "Range" in item 3. Choose the Parcel you wish to start with.
- End with: This will appear if you chose "Range" in item 3. Choose the Parcel you wish to end with.
Remember to go to the Grievance tab before printing the Report. - Preview: Click this button to preview. Refer to GENERAL PREVIEW for more information.
- Print Condensed: Click this button to print the report. This is different from the "Print" option in that it will use less paper for the same report.
- Print: Click this button to print. Refer to GENERAL PRINTING for more information.
- File: Click this button to save on this computer. Refer to GENERAL FILE for more information.
- Cancel: Click "Cancel" to cancel and return to the Reports Menu.
The "Grievance" tab
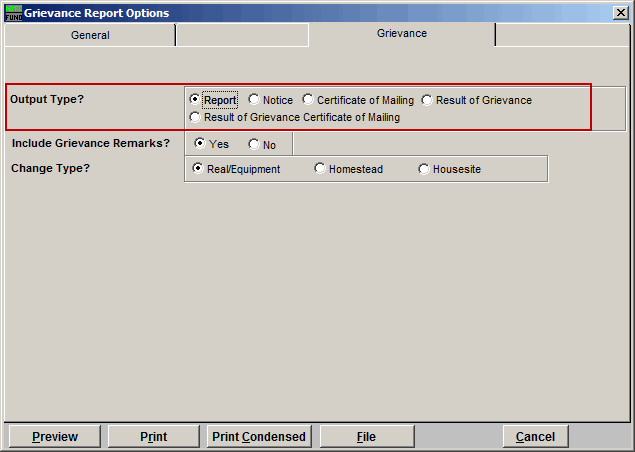
First, choose an output type. If you choose Report or Result of Grievance, then refer to the "Report/Result of Grievance" section below. If you choose Notice refer to the "Notice" section below. If you choose Certificate of Mailing or Result of Grievance Certificate of Mailing...
Report/Result of Grievance
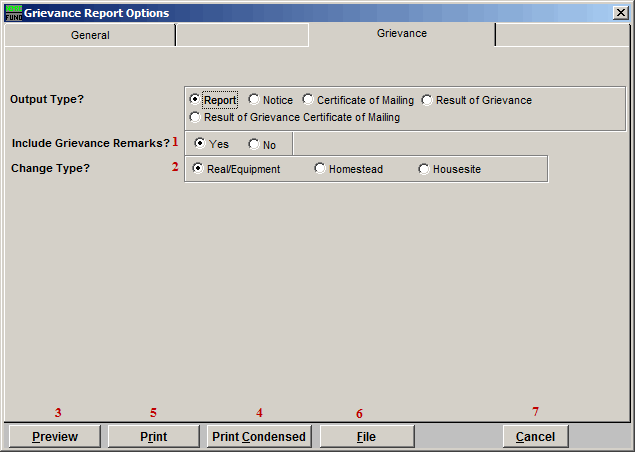
- Include Grievance Remarks?: Select Yes to include Grievance remarks in the report, or No to not include the remarks.
- Change Type?: Select which type is to be changed.
- Preview: Click this button to preview. Refer to GENERAL PREVIEW for more information.
- Print Condensed: Click this button to print the report. This is different from the "Print" option in that it will use less paper for the same report.
- Print: Click this button to print. Refer to GENERAL PRINTING for more information.
- File: Click this button to save on this computer. Refer to GENERAL FILE for more information.
- Cancel: Click "Cancel" to cancel and return to the Reports Menu.
Notice
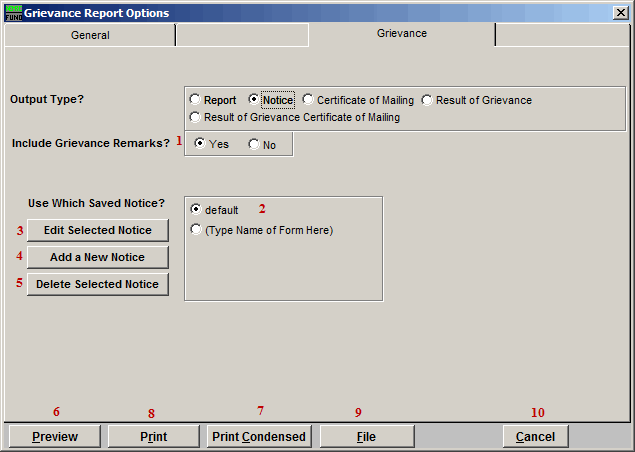
- Include Grievance Remarks?: Select Yes to include Grievance remarks in the report, or No to not include the remarks. Remarks can be seen/modified on a parcel in Parcel Maintenance under the "Chg Appr. Contracts Farm" tab.
- Use Which Saved Notice?: Select which Notice to use. These are Notices that have already been created through item 4.
- Edit Selected Notice: Click this button to edit the Notice selected in item 2. The window shown below will appear.
- Add a New Notice: Click this button to create a new Notice. The window shown below will appear. You may store up to 5 different notices.
- Delete a Selected Notice: Clicking this button will delete the Notice selected in item 2.
- Preview: Click this button to preview. Refer to GENERAL PREVIEW for more information.
- Print Condensed: Click this button to print the report. This is different from the "Print" option in that it will use less paper for the same report.
- Print: Click this button to print. Refer to GENERAL PRINTING for more information.
- File: Click this button to save on this computer. Refer to GENERAL FILE for more information.
- Cancel: Click "Cancel" to cancel and return to the Reports Menu.
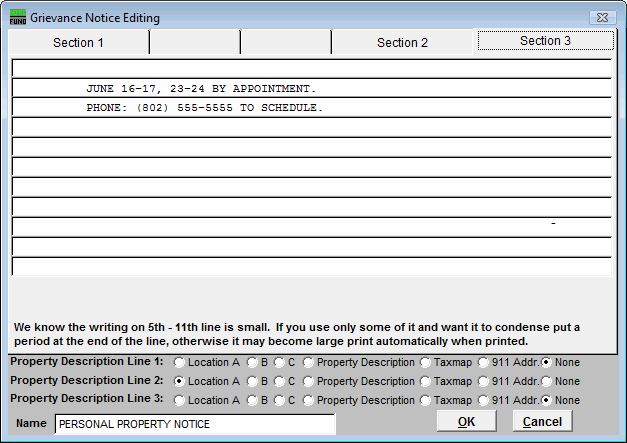
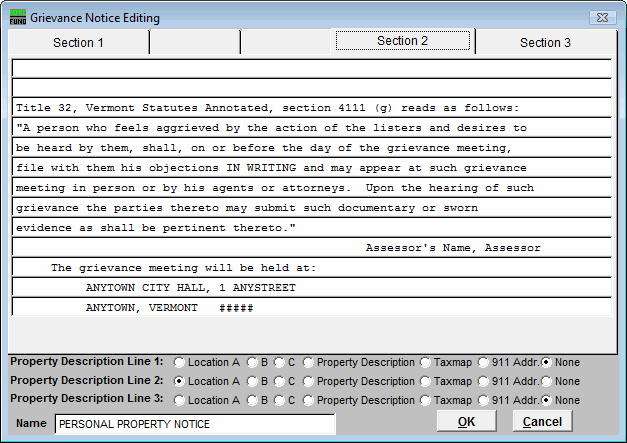
Add/Edit Notice Screen
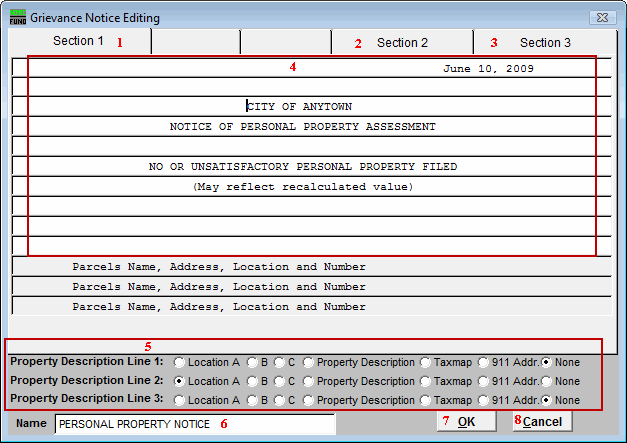
- Section 1: This tab shows the top of the Notice. Any fields in white may be edited.
- Section 2: This tab shows the second part of the Notice. Any fields in white may be edited.
- Section 3: This tab shows the third part of the Notice. Any fields in white may be edited.
- Any fields in white may be edited.
- Select the location for each Property Description Line. These appear in the gray sections in the above window. Review of your standards for use of these fields to help determine your choices.
- Name: Enter the name for this Notice to be saved under.
- OK: Click this button to save this Notice.
- Cancel: Click this button to cancel without saving this Notice.
The following are images of the second and third sections. These sections may contain whatever is appropriate. What appears in these images are just examples.
Section 2:
Section 3: