
Accounts Receivable Support Document
Open as: PDF or Word Document
R. Reports Menu: 2. Customer Report
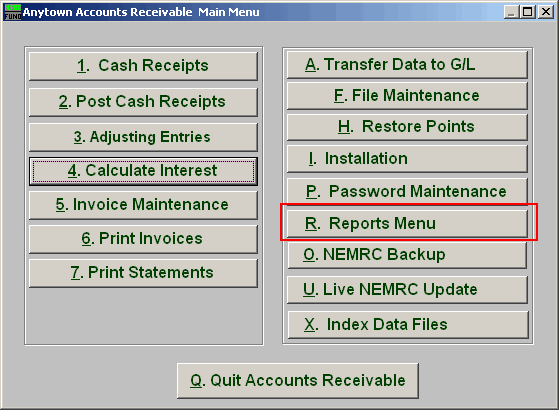
Click on "R. Reports Menu" from the Main Menu and the following window will appear:
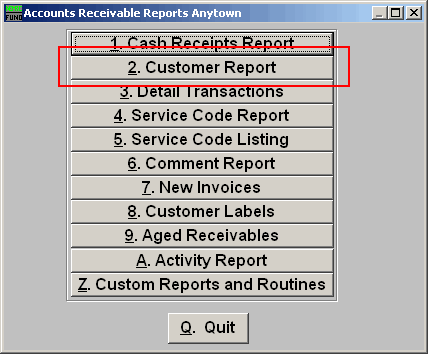
Click on "2. Customer Report" from the Reports Menu and the following window will appear:
Customer Report
- Range OR All Parcels : Choose "Range" if you would like this report to be for a range of Customers OR choose "All Parcels" if you want the report to include all customers.
- Start : If you chose "Range", select the Customer you want the report to start with by typing in the Customer Code or Name OR click "Find" and select from there.
- End : If you chose "Range", select the Customer you want the report to end with by typing in the Customer Code or Name OR click "Find" and select from there.
- Order by Customer OR Order by Name1 : Select Order by Customer if you want the report to print by Customer Code OR select Order by Name 1 if you want the report to print by Customer Name.
- FoxPro Filter Expression : A conditional reporting expression developed with NEMRC support. This evaluates account information to determine if the account should be included. Contact NEMRC support to learn more about this option.
- Detail Report : All information on the General tab from "Customer Maintenance" from "F. File Maintenance" is presented when this box is checked. Only the customer number, name, last billed, last paid and balance due are shown otherwise.
- Balance up to and including (Blank for All) : Enter the date in which you want the report to include OR leave blank for all dates..
- Include Customers with a Zero Balance : Click here if you want the report to include Customers with zero balances.
- Include Code Detail? : Check this option to list the balances by individual service code that make up the customer balance.
- Show Agreement Memos (If Defined)? : Check this option to list the information entered under the Agreement tab in Customer File Maintenance.
- Show Account Notes (If Written)? : Check this option to list the information entered under the Notes tab in Customer File Maintenance.
- File : Click this button to save the report on this computer. Refer to GENERAL FILE for more information.
- Preview : Click this button to preview the report. Refer to GENERAL PREVIEW for more information.
- Print : Click this button to print the report. Refer to GENERAL PRINTING for more information.
- Print Compressed : Click this button to print the report. This is different from the "Print" option in that it will use less paper for the same report.
- Cancel : Click "Cancel" to cancel and return to the previous screen.
