
Cash Receipts Support Document
Open as: PDF or Word Document
R. Reports Menu: 1. Cash Receipt Journal
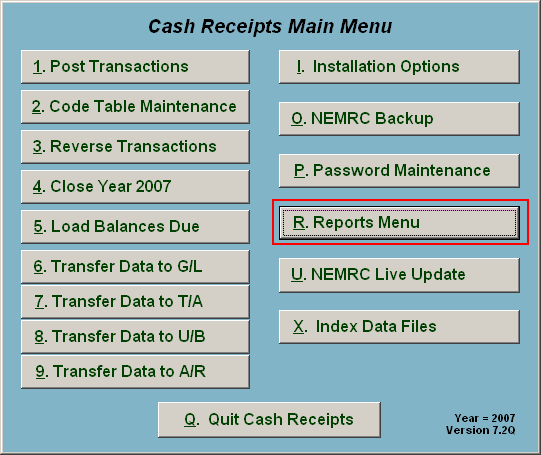
Click on "R. Reports Menu" from the Main Menu and the following window will appear:
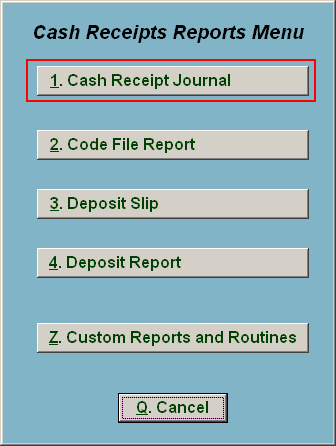
Click on "1. Cash Receipt Journal" from the Reports Menu and the following window will appear:
Cash Receipt Journal
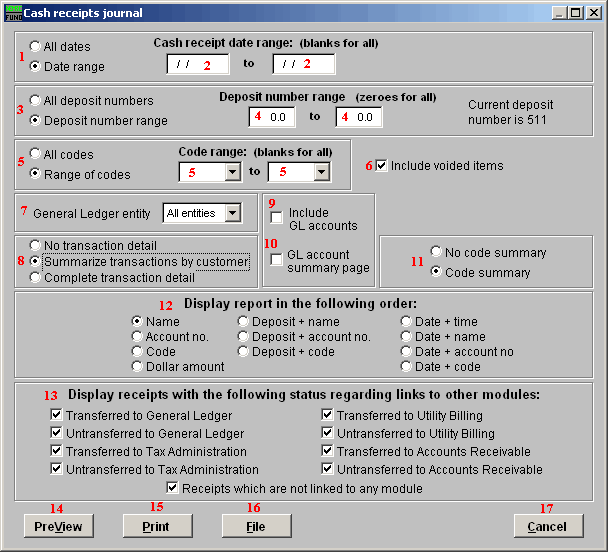
- All dates OR Date range: Choose whether this report will be on All Cash Receipt dates, or a Range of Cash Receipt dates.
- Cash receipt date range: (blanks for all): If you chose "Date range" these fields become available. Enter the starting and ending date range to use, or leave blank for All dates.
- All deposit numbers OR Deposit number range: Choose whether this report will be for All deposit numbers, or a Range of Deposit numbers.
- Deposit number range: If you chose "Deposit number range" these fields become available. Enter the starting and ending deposit numbers, or leave as zeroes for All deposit numbers.
- All codes OR Range of codes: Choose whether this report will be for All Codes, or a Range of Codes.
- Code range: (blanks for all): If you chose "Range of codes" these fields become available. Enter the starting and ending codes to use, or leave blank for All codes.
- Include voided items: Voided items will be reflected as both recorded and reversed on the report and thus net to a zero value.
- General Ledger entity: Select the general ledger group to report on from the drop down list.
- No transaction detail OR Summarize Transactions OR Complete transaction: Each option expands the amount of detail to report. The first prints a summary totals only. The second will net the total cash transaction by customer. The last will show every code entry by customer.
- Include GL accounts: Check this box to show what account was credited during the posting of cash transaction. This is only valid with the "Complete Transaction" option from item 9.
- GL account summary page: Check this box to have the system report totals by General Ledger credit account in summary at the end.
- No Code OR Code summary: Determine if you want a page summarizing by cash code the amounts recorded.
- Display report in the following order: Select what order you would like the report to print.
- Display receipts with the following status: The default is to report all activity. You may check or un-check each box to narrow your report to items you are seeking to report on.
- PreView: Click this button to preview. Refer to GENERAL PREVIEW for more information.
- Print: Click this button to print this report. Refer to GENERAL PRINTING for more information.
- File: Click this button to save on this computer. Refer to GENERAL FILE for more information.
- Cancel: Click "Cancel" to cancel and return to the previous screen.
