
Land Records Support Document
Open as: PDF or Word Document
R. Reports Menu: X. Export Data
Table of Contents
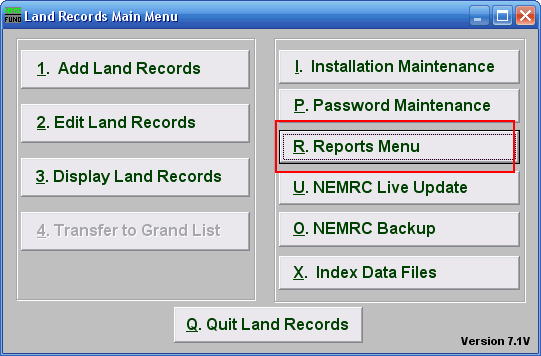
Click on "R. Reports Menu" from the Main Menu and the following window will appear:
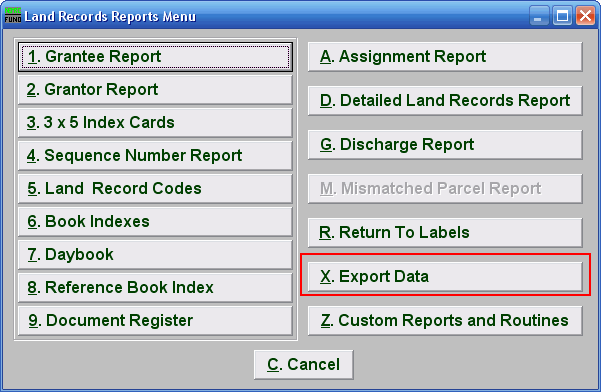
Click on "X. Export Data" from the Reports Menu and the following window will appear:
Export Data
The "General" tab
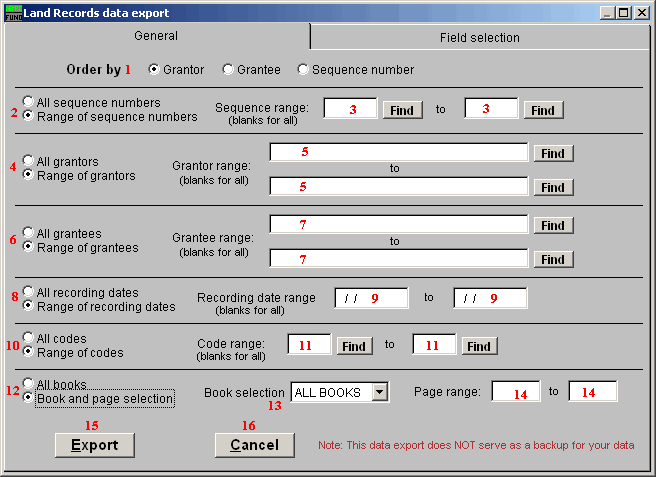
- Order by: Select what order you want this report to print in.
- All sequence numbers OR Range of sequence numbers: Select whether this report is for All sequence numbers or a Range of sequence numbers.
- Sequence range: If you chose "Range of sequence numbers," enter the starting and ending sequence numbers you wish to include.
- All grantors OR Range of grantors: Select whether this report is for All Grantors or a Range of Grantors.
- Grantor range: If you chose "Range of grantor," enter the starting and ending Grantors you wish to include.
- All grantees OR Range of grantees: Select whether this report is for All Grantees or a Range of Grantees.
- Grantee range: If you chose "Range of grantees," enter the starting and ending Grantees you wish to include.
- All recording dates Or Range of recording dates: Select whether this report is for All recording dates or a Range of recording dates.
- Recording date range: If you chose "Recording date range," enter the starting and ending dates you wish to include.
- All codes OR Range of codes: Select whether this report is for All codes or a Range of codes.
- Code range: If you chose "Range of codes," enter the starting and ending codes you wish to include.
- All books OR Book and page selection: Select whether this report is for All books or a Range of books/pages.
- Book selection: If you chose "Book and page selection" select the "Book" from the drop down arrow.
- Page range: If you chose "Book and page selection," enter the starting and ending page numbers you wish to include.
- Export: Click this button to save on this computer. Refer to GENERAL FILE for more information.
- Cancel: Click "Cancel" to cancel and return to the previous screen.
The "Field Selection" tab
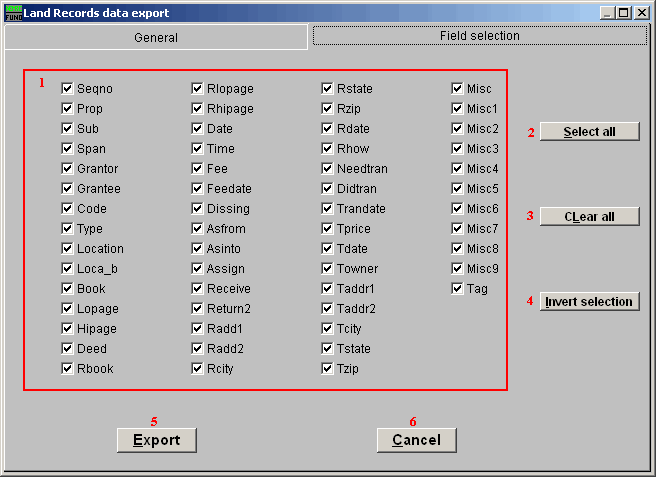
- Fields to include: Check off all the fields to include in the export from the conditions provided on the general tab. Buttons 2, 3 and 4 work in the traditional windows style of selection processing.
- Select all: Click this button to check all of the fields and include them in this report.
- Clear all: Click this button to uncheck all of the fields and not include them in this report.
- Invert Selection: Click this button to reverse the option of all fields. Checked items become uncheck while unchecked items become checked when using this option.
- Export: Click this button to save on this computer. Refer to GENERAL FILE for more information.
- Cancel: Click "Cancel" to cancel and return to the previous screen.
