
Payroll Support Document
Open as: PDF or Word Document
R. Reports Menu: 4. Check Warrant Report
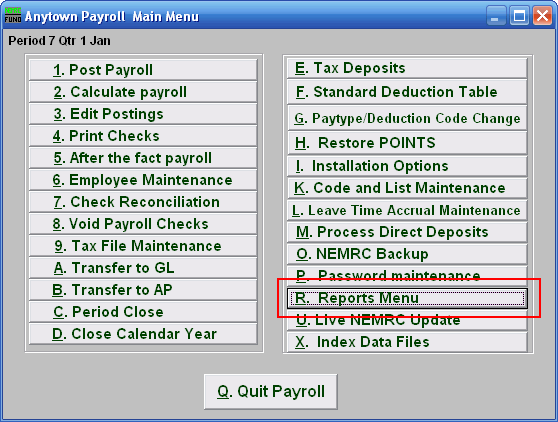
Click on "R. Reports Menu" from the Main Menu and the following window will appear:
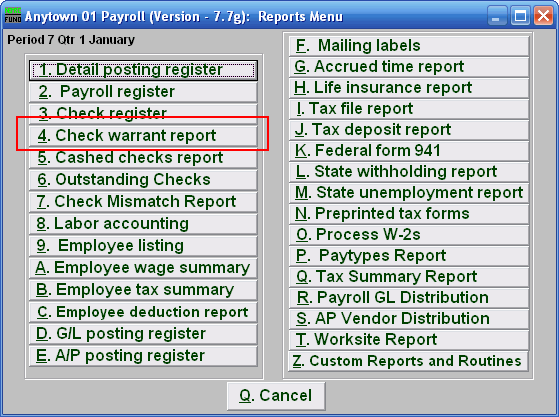
Click on "4. Check Warrant Report" from the Reports Menu and the following window will appear:
Check Warrant Report

- Select By: Determine if your warrant will select checks by the pay period ending dates or check paid date.
- Dates: Select the beginning and ending date range for collecting data.
- Order: Employee number OR Check Number: Click to choose whether this report prints in order of Employee number or in order of Check number.
- Department: Enter the department you wish to begin with in the first field, and the department you wish to end with in the second field.
- Group by Department?: Check this box if you want the warrant to group and sub-total by the employee department code at the time of check payment.
- Format: The summary format shows net pay by check and electronic deposit. The detail shows gross pays, deductions, taxes, fringes and net pays for all selected records.
- Edit Authorization Section?: Check this box if you need to alter the default section of the warrant that is used to collect signatures from the controlling board.
- Enter Warrant Report Number: This is a user defined value that can be used if your procedures call for a value to be assigned to each payroll warrant.
- Preview: Click this button to preview this report. Refer to GENERAL PREVIEW for more information.
- Print: Click this button to print this report. Refer to GENERAL PRINTING for more information.
- File: Click this button to save this report on this computer. Refer to GENERAL FILE for more information.
- Cancel: Click "Cancel" to cancel and return to the previous screen.
