
Tax Administration
Open as: PDF or Word Document
7. Add History
Table of Contents
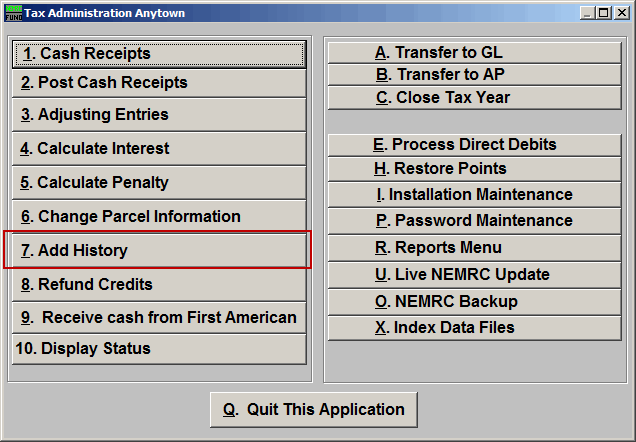
Click on "7. Add History" from the Main Menu and the following window will appear:
Add History
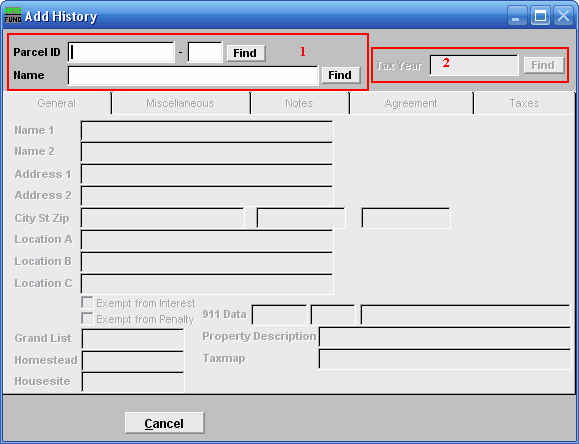
- Select the Parcel you are seeking. For additional information on finding Parcels, refer to TA GENERAL PARCEL LOOKUPS.
- After you select a Parcel, you will need to select a Tax Year. For additional help with finding a Tax Year, refer to TA GENERAL TAX YEAR LOOKUPS.
The "General" tab
The "General" tab will appear:
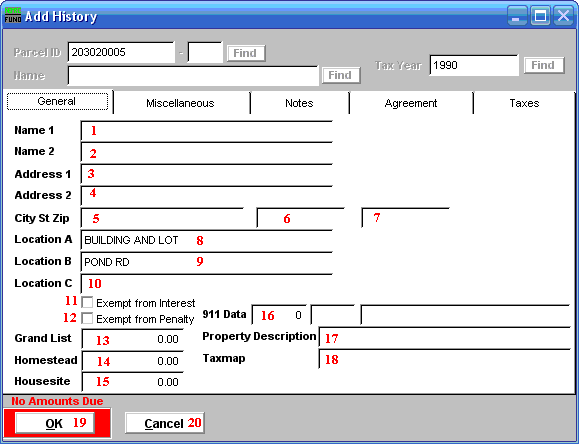
- Name 1: This is the first owners name in last name, first name order.
- Name 2: This is the second owners name in last name, first name order.
- Address 1: This is the first line of the mailing address for the owner.
- Address 2: This is the second line of the mailing address for the owner.
- City St Zip: City: This is the city of the mailing address for the owner.
- City St Zip: State: This is the state of the mailing address for the owner.
- City St Zip: Zip-Code: This is the zip code of the mailing address for the owner.
- Location A: This information is usually place in this field by the listers office.
- Location B: This information is usually place in this field by the listers office.
- Location C: This information is usually place in this field by the listers office.
- Exempt from Interest: Check this box to exempt this Parcel from all interest calculations. This is often used when a Parcel goes into bankruptcy.
- Exempt from Penalty: Check this box to exempt this Parcel from all penalty calculations. This is often used when a Parcel goes into bankruptcy.
- Grand List: Enter the grand list value of this property for the Tax Year being added.
- Homestead: Enter the homestead value of this property for the Tax Year.
- Housesite: Enter the housesite value for this property for the Tax Year.
- 911 Data: Enter the 911 locatable address for this Parcel.
- Property Description: Enter the Parcel description as defined by the listers.
- Taxmap: Enter the tax map number for this Parcel if there is one defined.
- OK: Click this button to save the information entered on all tabs. When this button is highlighted by a red outline, then there aren't any amounts due under the Taxes tab.
- Cancel: Click "Cancel" to return to the Main Menu.
The "Miscellaneous" tab
Click on the "Miscellaneous" tab and the following window will appear:

- Label1: The user defined labels for these fields are set up under Installation Maintenance.
- Enter the contents as defined by the label.
- OK: Click this button to save the information entered on all tabs. When this button is highlighted by a red outline then there aren't any amounts due under the Taxes tab.
- Cancel: Click "Cancel" to return to the Main Menu.
The "Notes" tab
Click on the "Notes" tab and the following window will appear:
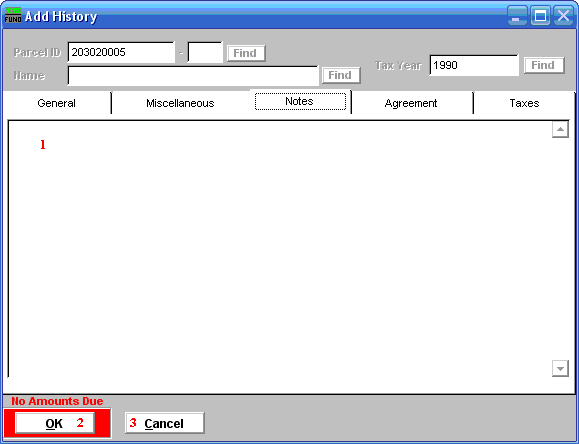
- This is a user defined field.
- OK: Click this button to save the information entered on all tabs. When this button is highlighted by a red outline then there aren't any amounts due under the Taxes tab.
- Cancel: Click "Cancel" to return to the Main Menu.
The "Agreement" tab
Click on the "Agreement" tab and the following window will appear:
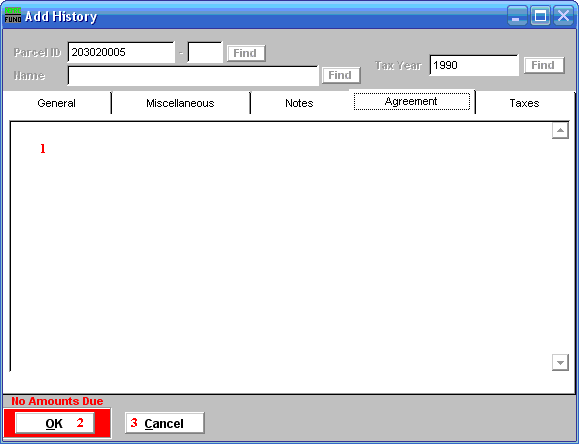
- This is a user defined field. The contents of the agreement will appear on the "8. Agreement report," found on the Reports Menu. The best practice is to establish a pattern for a monthly review of the Agreements Report for follow up. Note who agreed to what payment schedule on what date.
- OK: Click this button to save the information entered on all tabs. When this button is highlighted by a red outline then there aren't any amounts due under the Taxes tab.
- Cancel: Click "Cancel" to return to the Main Menu.
The "Taxes" tab
Click on the "Taxes" tab and the following window will appear:
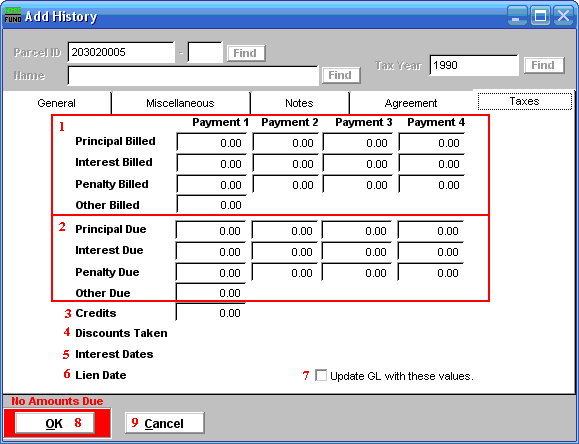
- Amounts Billed: Enter the total billing amounts for each type (Principal, Interest, Penalty and Other) by due date.
- Amounts Due: Enter the net amounts due for each type (Principal, Interest, Penalty and Other) by due date
- Credits: Enter the amount of Credit balance to start on this account.
- Discounts Taken: Enter the discount amounts taken if use of discounts have been defined for this Tax Year.
- Interest Dates: Enter the last interest calculation date the values of interest entered. This is only available when daily interest is defined in Installation Maintenance.
- Lien Date: Enter the date of lien if the property has been processed. This option is available in New Hampshire sites.
- Update GL with these values: Check this option to have tax administration post entries to the General Ledger when linked.
- OK: Click this button to save the information entered on all tabs. When this button is highlighted by a red outline then there aren't any amounts due under the Taxes tab.
- Cancel: Click "Cancel" to return to the Main Menu.
