
Marriage Administration Support Document
Open as: PDF or Word Document
2. Civil Union Entry
Table of Contents
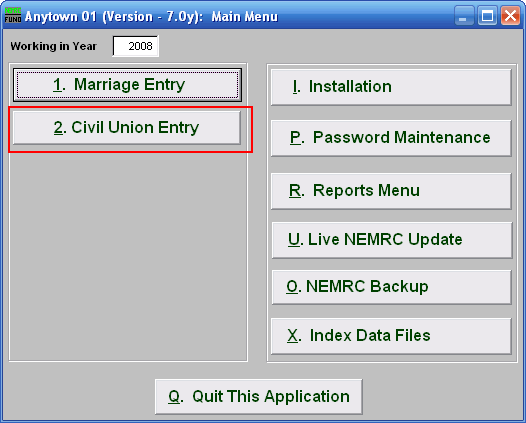
Click on "2. Civil Union Entry" from the Main Menu and the following window will appear:
Civil Union Entry
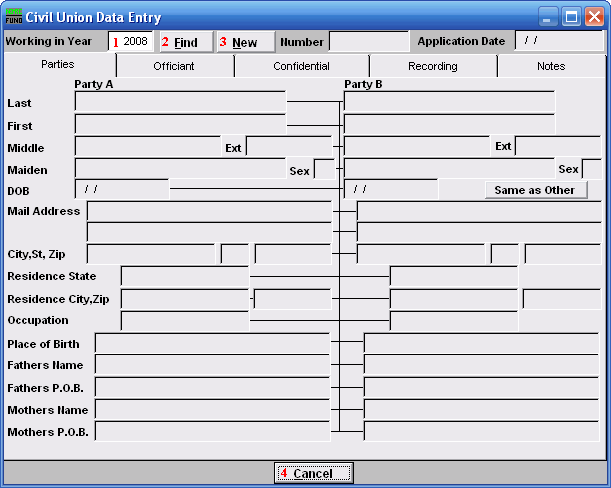
- Working in Year: Enter the Year that you wish to work in. For a new Entry, use the Current Year.
- Find: Click this button and select the Entry from the table.
- New: Click this button to create a new Civil Union Data Entry.
- Cancel: Click "Cancel" to cancel and return to the previous screen.
The "Parties" tab
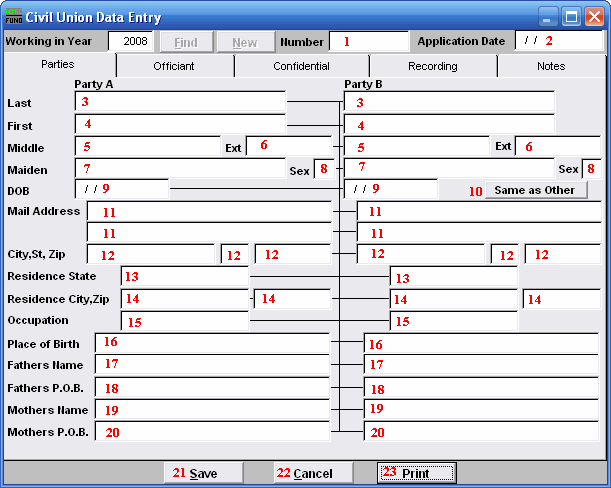
- Number: This must be a unique number. The recommendation is to use the preprinted number in the upper right hand corner of the document provided by the state of Vermont.
- Application Date: Enter the date the application was submitted, in MM/DD/YYYY format.
- Last: Enter Party A's/Party B's Last name.
- First: Enter Party A's/Party B's First name.
- Middle: Enter Party A's/Party B's Middle name.
- Ext: Enter the Party A's/Party B's extended name (Sr., Jr., 3rd).
- Maiden: Enter Party A's/Party B's Maiden name.
- Sex: Enter Party A's/Party B's Sex.
- DOB: Enter Party A's/Party B's Date of Birth in MM/DD/YYYY format.
- Mail Address: Enter Party A's/Party B's Mailing Address.
- City, St, Zip: Enter Party A's/Party B's City, State and Zip code.
- Residence State: Enter Party A's/Party B's Residence State.
- Residence City, Zip: Enter Party A's/Party B's Residence City and Zip code.
- Occupation: Enter Party A's/Party B's Occupation.
- Place of Birth: Enter Party A's/Party B's Place of Birth.
- Fathers Name: Enter Party A's/Party B's Father's full name.
- Fathers P.O.B.: Enter Party A's/Party B's Father's Place of Birth.
- Mothers Name: Enter Party A's/Party B's Mother's full name.
- Mothers P.O.B.: Enter Party A's/Party B's Mother's Place of Birth.
- Save: Click this button to save on this computer. Refer to GENERAL FILE for more information.
- Cancel: Click "Cancel" to cancel and return to the previous screen.
- Print: Click this button to print. Refer to GENERAL PRINTING for more information.
The "Officiant" tab
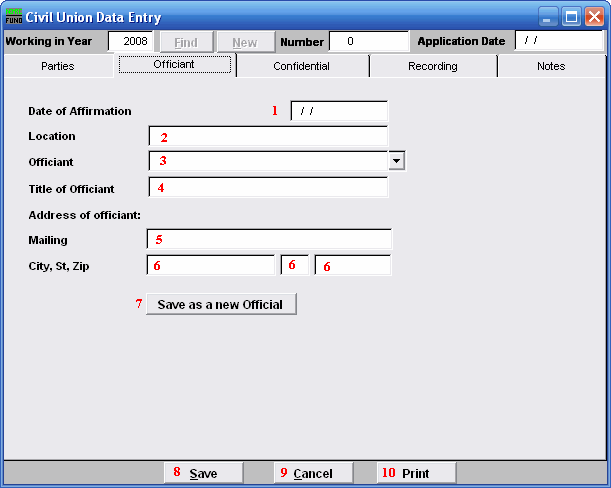
- Date of Affirmation: Enter the date the Marriage took place.
- Location: Enter the Location the Marriage took place.
- Officiant: Enter the name of the Officiant that performed the service.
- Title of Officiant: Enter the Title of the Officiant.
- Mailing: Enter the Mailing address of the Officiant.
- City, St, Zip: Enter the City, State and Zip code of the Officiant.
- Save as a new Official: Click here if you want to save this Officiant's information as a new Official. This list is maintained in "I. Installation" from the Main Menu under the "Officials" tab.
- Save: Click this button to save on this computer. Refer to GENERAL FILE for more information.
- Cancel: Click "Cancel" to cancel and return to the previous screen.
- Print: Click this button to print. Refer to GENERAL PRINTING for more information.
The "Confidential" tab
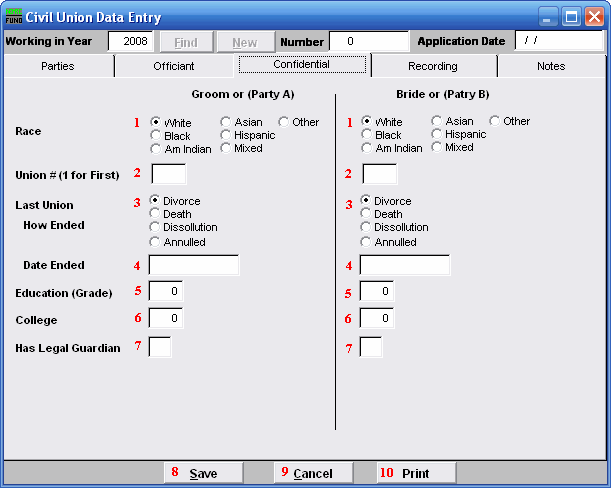
- Race: Click on the circle next to the Race of the Groom (Party A)/Bride (Party B).
- Union #(1 for First): Enter the # this makes for the Groom's (Party A's)/Bride's (Party B's) Union.
- How Ended: Click on the circle next to the reason for the How the Last Union ended.
- Date Ended: Enter the date the last Union Ended in MM/DD/YYYY format.
- Education (Grade): Enter the number of years the Groom (Party A)/Bride (Party B) entered in Grade school.
- College: Enter the number of years the Groom (Party A)/ Bride (Party B) entered in College.
- Has Legal Guardian: Enter "Y" for Yes or "N" for No if the Groom (Party A)/Bride (Party B) has a Legal Guardian.
- Save: Click this button to save on this computer. Refer to GENERAL FILE for more information.
- Cancel: Click "Cancel" to cancel and return to the previous screen.
- Print: Click this button to print. Refer to GENERAL PRINTING for more information.
The "Recording" tab
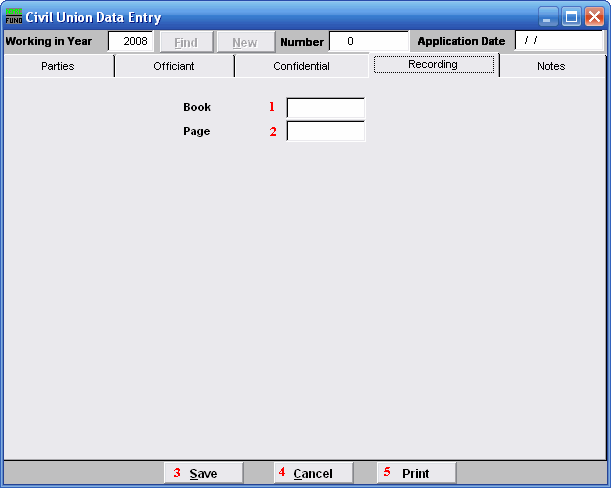
- Book: Enter the Book this information will be recorded in.
- Page: Enter the Page number this information will be found on.
- Save: Click this button to save on this computer. Refer to GENERAL FILE for more information.
- Cancel: Click "Cancel" to cancel and return to the previous screen.
- Print: Click this button to print. Refer to GENERAL PRINTING for more information.
The "Notes" tab
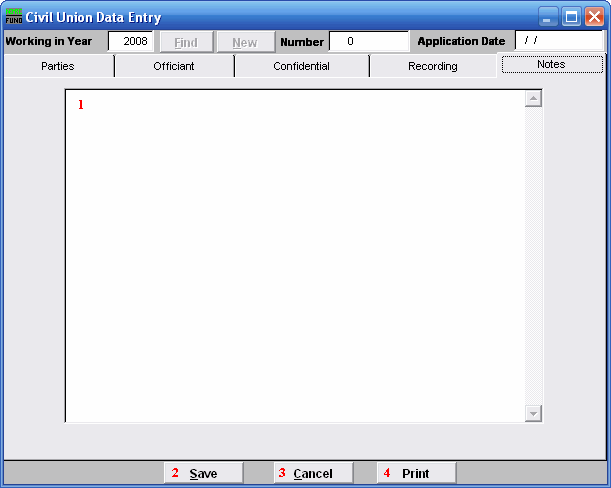
- This is a User defined field.
- Save: Click this button to save on this computer. Refer to GENERAL FILE for more information.
- Cancel: Click "Cancel" to cancel and return to the previous screen.
- Print: Click this button to print. Refer to GENERAL PRINTING for more information.
